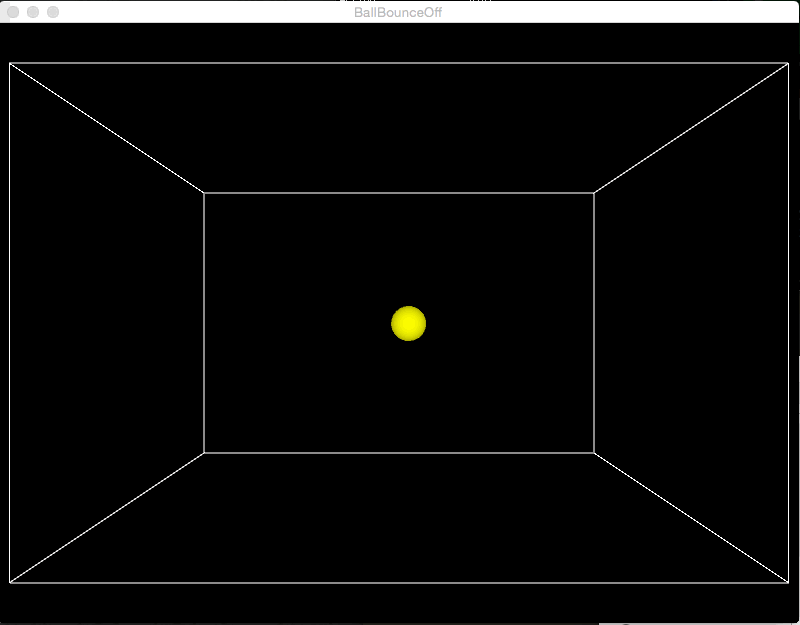


Crowd Simulation
We decided to use boids to simulate crowd. First, below is a simulation we created illustrating a lot of things.
-
Image
-
Video
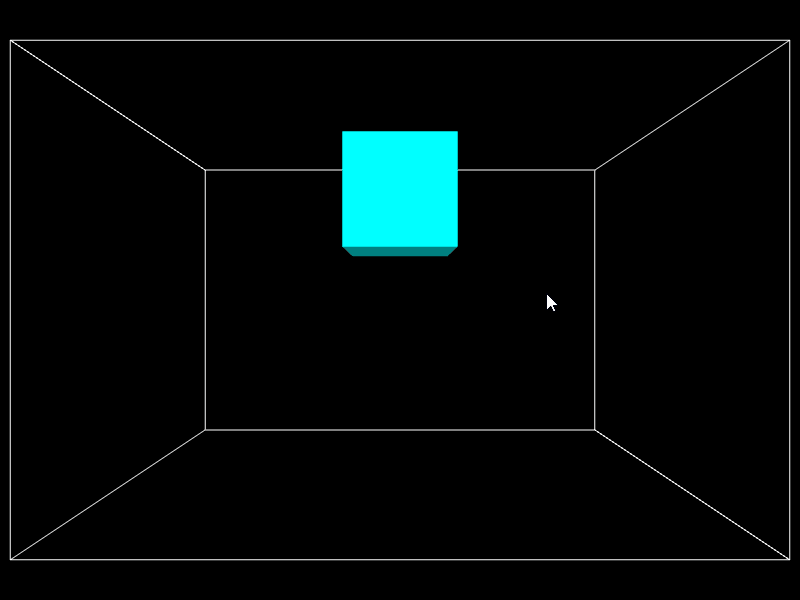
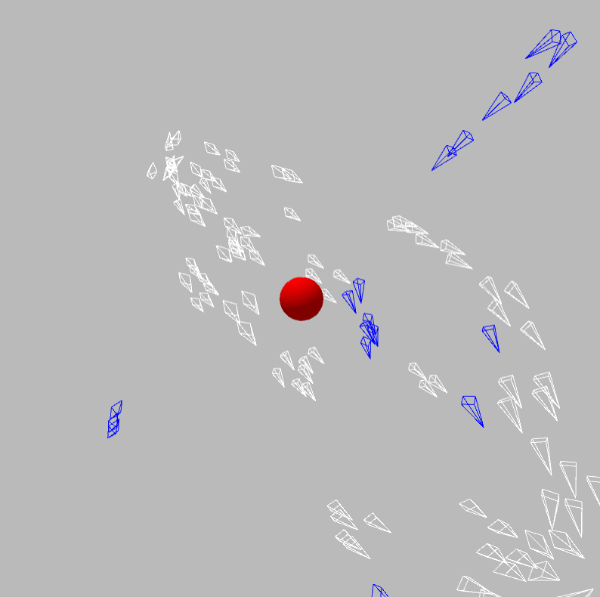
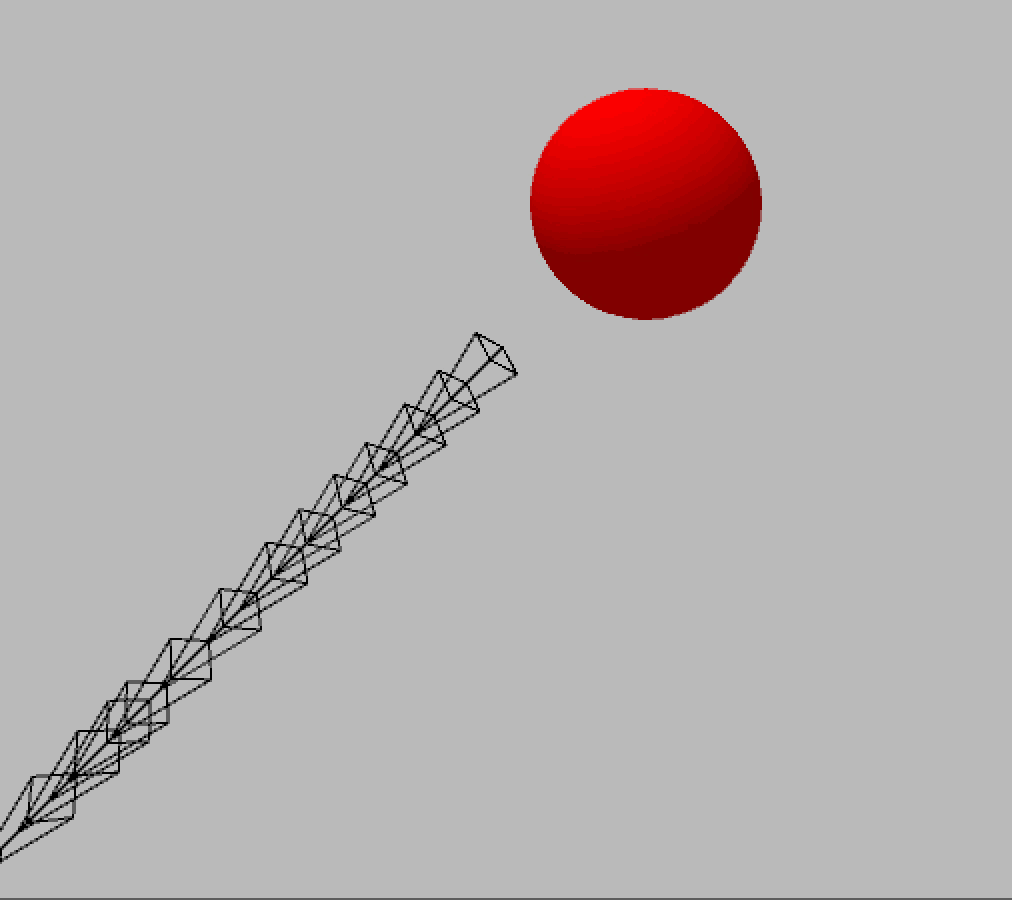
Single Particle System with no Obstacle
This is a particle system that generates instances of boids from the center with random orientation. Note that due to the align force at the origin of the particle system, the boids are chaos. However, after some distance they move away from the origin, it can be easily seen that groups of boids are formed and they act like a group. From this simple example, we can see the attributes of a boids simulation. First the there is a attractive force between instances and a repel force to keep them not too close. Then as a group they have a align force that make them go the same way.
-
Image
-
Video
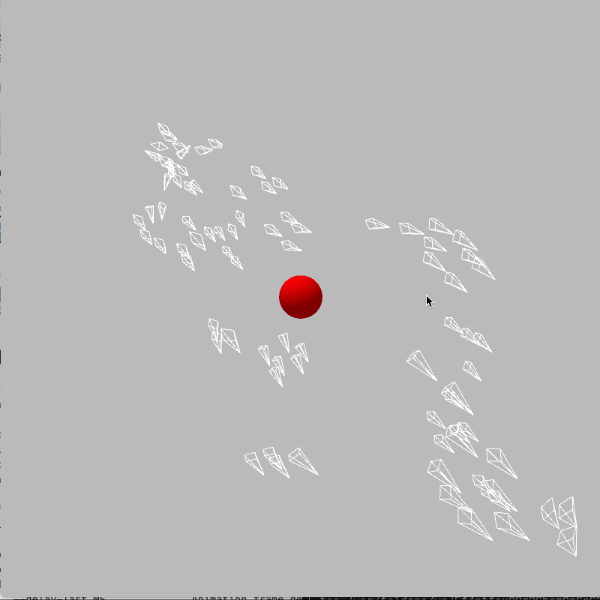
Single Particle System Boids
We used particle systems to generate a single instance and assign a goal point to the instance and when the instance reached its goal, it will disappear. Below is a single particle system with it's goal.
-
Image
-
Video
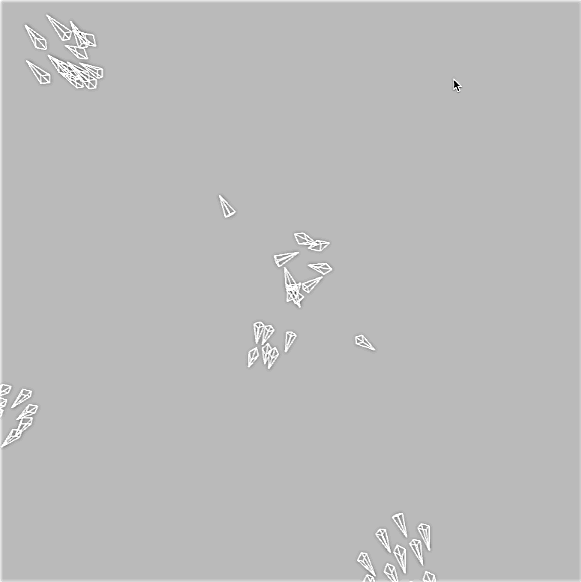
Double Particle System Boids
Now we added a second partical system with a different goal point. Observe that due to the implementation of the boids, the blue instances are sometimes draged by the white ones due to the align force between the instances of the boids.
-
Image
-
Video
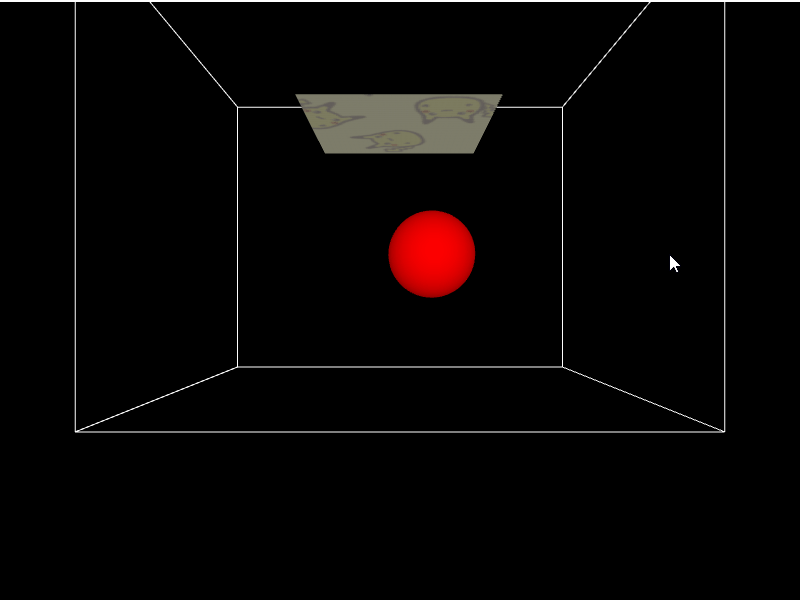
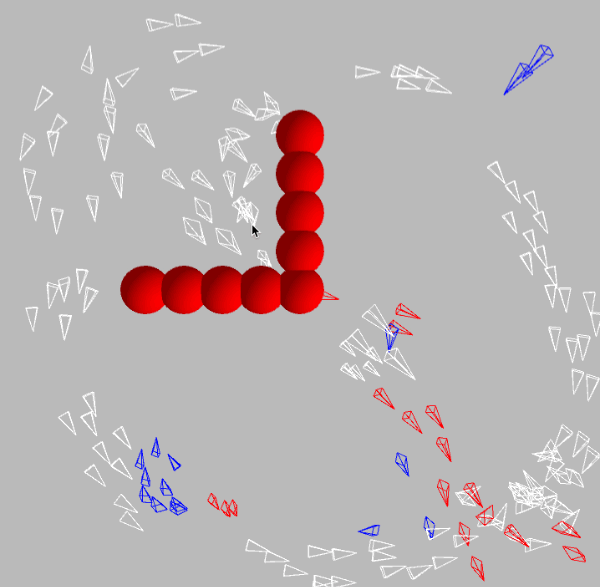
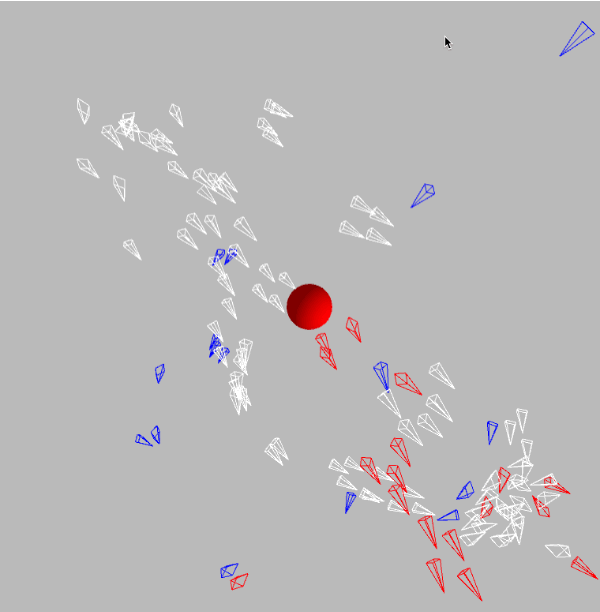
Three Particle System Boids
Now we added a new particle system in the middle of the obstacle and it is colored red. Red instances does not have a goal, thus it will go freely as wished and it can be easily observed that it follows the way that the large amount of boids move around it. And since there are more instance moving towards bottom right, all the red instances will also follow what more instances do, which is also bottom right.
-
Image
-
Video
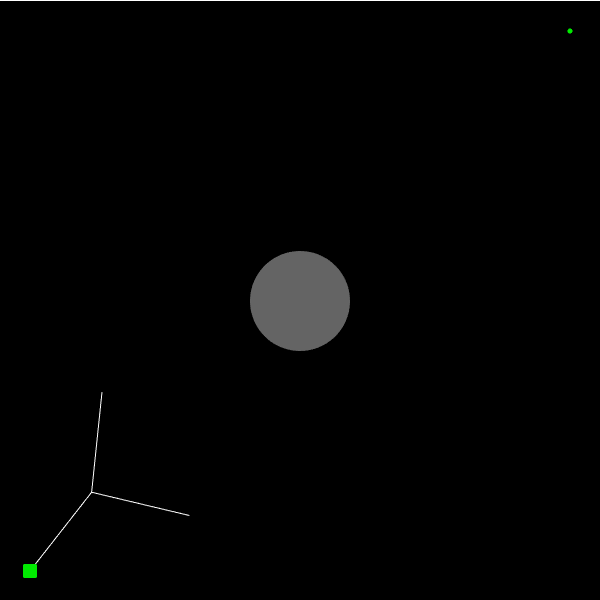
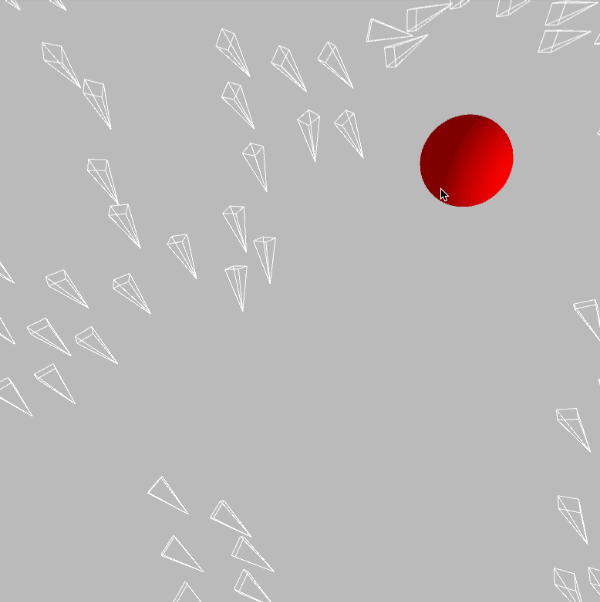
2D User Interaction
We are very limited in time to implement a 3D mouse control system. So we decided to illustrate how user interaction could be down in 2D. The mouse is the position of the obstacle, and the boids react to the position of the obstacle in real time.
-
Image
-
Video
Avoiding with local minima in 2D
Due to the fact that we did not have time to implement a 3d camera control system and creating a 3d local minima seems to taking too long, we decided to illustrate our approach with a 2D scenario. Here we used a collection of circles to create a local minima since we did not have the time to implement a collision detecting method for other shapes. Here, each obstacle gives the instance a force that is rotated 90 degrees to the right. So when the boids approaches, it will be affected by the force. Since we are implementing this in a way that the instance can only sense it's environment in a distance. This perfectly makes sense. The reason that this implementation can over come any local minima is due to the fact that any maze can be conqured with just following the wall to the left(right). So as you can see below, the local minima is not a problem.
-
Image
-
Video
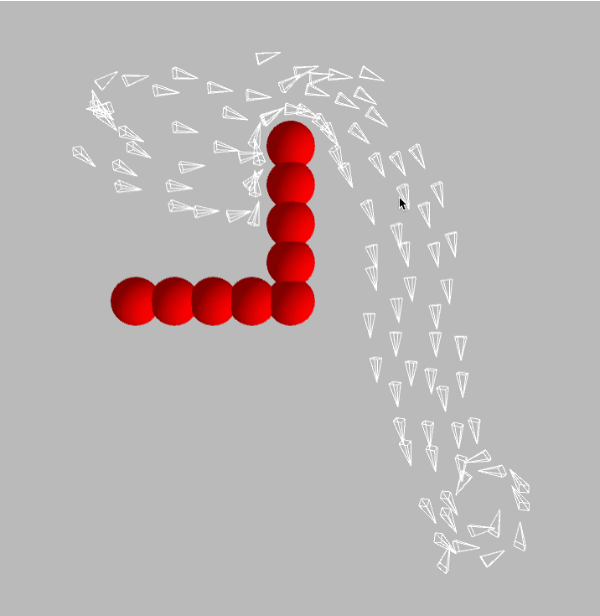
Limitations
Since the environment is based on obstacles giving forces to the boids. If the instance of boids are pointing directed to the center of the obstacle. And the goal of the instance also lies in the same line. Then the boids will only receive force in one dimension and it will just go back and force in front of the obstacle. It can be solved applying the avoid method before but if not below is how it is broken.
-
Image
-
Video
Acknowlegement and Other
We decided to do boids because the video Stephen shoed during class on boids was very neat. We took a look at the original post and decided to draw the boids just like it. And also when we were looking for something on processing we found out there is a official example about flocking on processing.org. However, it was only a 2D version and we discovered it after we finished our simulation. So we only checked with it to see of our simulation was using similar techniques.
Also, I (Cosmos) discovered a new vim plugin called vim-processing which I really hope I could find it earlier. This plugin turns vim into a exellent processing editor which it automatically changed the indent to how processing's own ide works and has build in commands to directally run it from vim.
Also, due to limited time, we were not able to implement a mechanism to change modes, so we ran the simulation with the same file but with small changed to where and how different things are created. The download file below is the implementation of the very first part of this page. And thank you for reading through this webpage I know there would be a lot of typos and grammar errors since I am writing it very late at night.